
Websites these day are getting more complicated and need much more resources than ever; consequently, a standard hosting account is not enough. The most common solution is to use a VPS. The easiest solution is to purchase a cPanel Virtual Server – we perform the initial setup, tweaks and provide a fully functional hosting solution.
Alternatively, a manual installation of a LAMP can be performed on our standard Linux VPS options. You can find our LAMP installation in this article, but LAMP will not secure your VPS. In a previous article explained how to use and install fail2ban for brute force attacks; now we will show you to install ClamAV which is the most used antivirus software on the market for your VPS.
What is ClamAV ?
ClamAV is an open source free antivirus software and can be used on a variety of platforms. ClamAV scan files and folders for Virus and Malware. In this guide we will install the ClamAV on CentOS 7.
You will need :
Before you begin, you should have the following:
- SSH root access to your VPS
- CentOS 7
Step 1 – Installing ClamAV on CentOS 7
Since ClamAv does not come by default in the CentOS 7 software repository, we need to create an additional repository by running the yum command:
yum -y install epel-release
yum clean all
Now, we can install ClamAv on CentOS 7 by running the following command:
yum -y install clamav-server clamav-data clamav-update clamav-filesystem clamav clamav-scanner-systemd clamav-devel clamav-lib clamav-server-systemd
Congratulations, you’ve successfully installed antivirus software on your server. We can move on the next step.
Step 2 – SELinux settings
SELinux is a security measure to protect some of the applied changes. If you want to use ClamAV with SELinux kernel module enabled you will need to change the following settings otherwise you will not be able to read some of your ClamAv files.
To do that, all you need to do is run the following commands:
setsebool -P antivirus_can_scan_system 1
setsebool -P clamd_use_jit 1
Run this delegation to confirm the changes:
getsebool -a | grep antivirus
You should have obtained the following result:
antivirus_can_scan_system – & gt; front
antivirus_use_jit – & gt; off
That’s it, ClamAV with SELinux is ready for use.
Step 3 – ClamAV Settings
To enable ClamAV first you need to delete the Example line from the configuration file. You can do it by following command:
sed -i -e “s/^Example/#Example/” /etc/clamd.d/scan.conf
In this step, you must specify the server type. To do that open the configuration file in the text editor, we will use nano in this example. If it is not already installed, perform the installation using yum :
yum install nano -y
Open the configuration file:
nano /etc/clamd.d/scan.conf
Find the following line:
#LocalSocket /var/run/clamd.scan/clamd.sock
And replace with the following:
LocalSocket /var/run/clamd.scan/clamd.sock
Save your changes using the CTRL + X shortcut ( COMMAND + X if you are using MAC).
Now we need to delete the Example line from ClamAV’s freshclam update engine configuration:
sed -i -e “s/^Example/#Example/” /etc/freshclam.conf
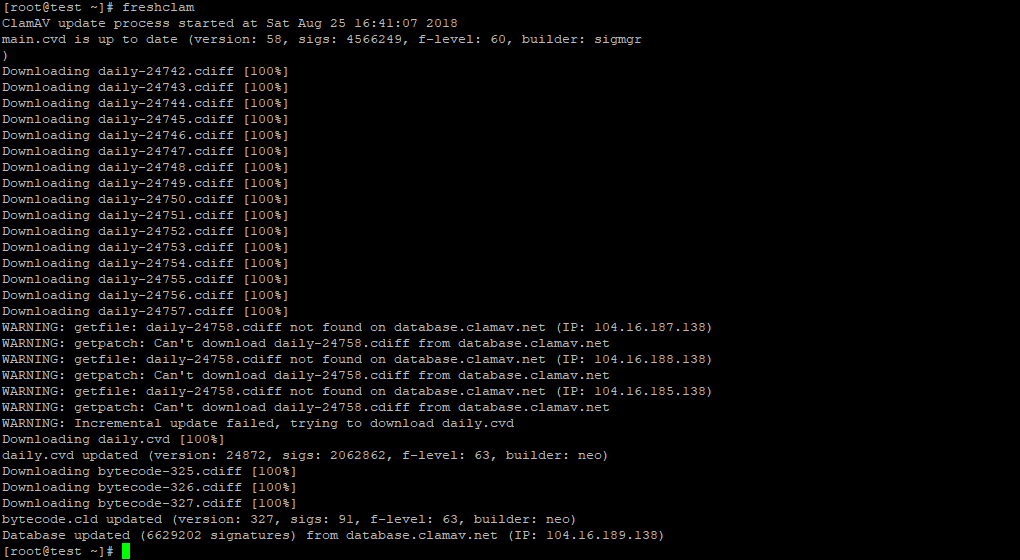
Run the virus definitions database update:
freshclam
You should see something similar to the image below:
Finally, run the Clamd service and start it on boot:
systemctl start clamd @ scan
systemctl enable clamd @ scan
To run ClamAv, you can use the “clamscan” command. This command can work with many different parameters, you can see all of them with “clamscan –-help” command.
Result
You have taken steps to make your server more secure by installing ClamAV on CentOS 7. You can now scan your server against malware and viruses.
Leave A Comment?